Here we define the NodeMCU firmware version. This is the command to display the serial once Nuttyfi connects to blynk.
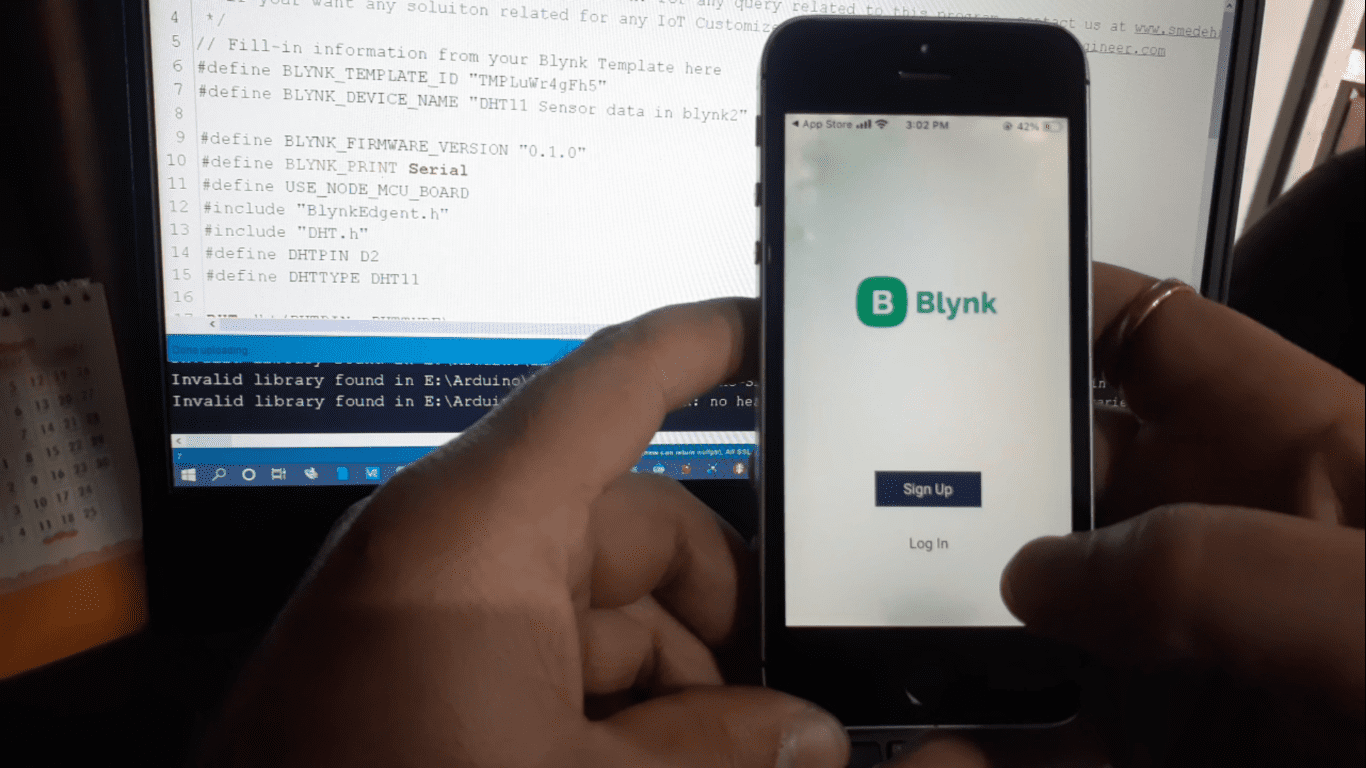
#define BLYNK_FIRMWARE_VERSION “0.1.0”
#define BLYNK_PRINT Serial
Here we define the nodemcu board and blynk edgent header file.
#define USE_NODE_MCU_BOARD
#include “BlynkEdgent.h”
Here we include the dht sensor library. We define the dht pin to D2 and dht sensor type to DHT11.
#include “DHT.h”
#define DHTPIN D2
#define DHTTYPE DHT11
Now we call the dht function by passing the arguments dht pin and dht type. we takes two flaot variable h and t. h is used to store the humidity and t for temperature.
Now here we make a separate function sendSensor() to capture the dht sensor data and send that data to blynk.
Inside this function we store the humidity sensor value to h variable by using dht.readHumidity() command. And temperature in t variable using dht.readTemperature.
void sendSensor()
{
h = dht.readHumidity();
t = dht.readTemperature();
Blynk.virtualWrite(V0, h);
Blynk.virtualWrite(V1, t);
}
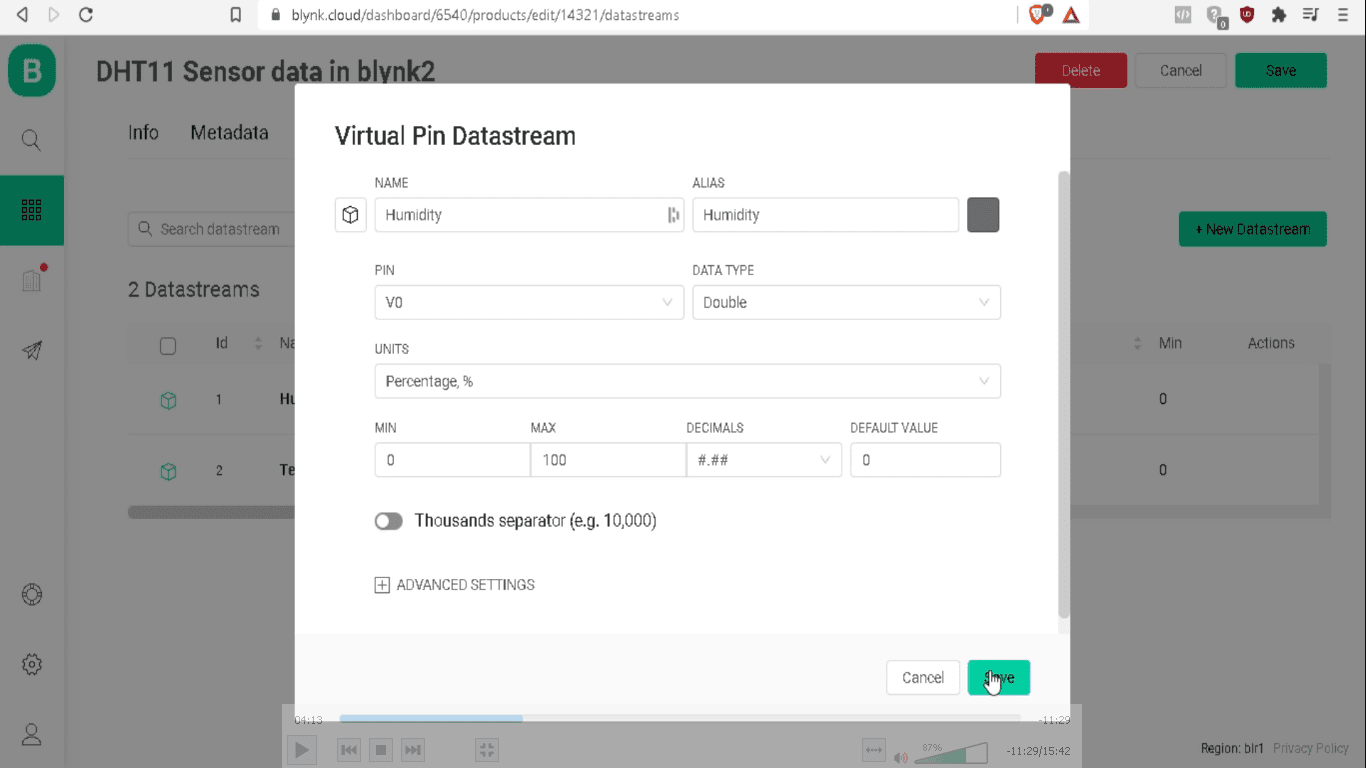
As we have stored the humidity and temperature values to h and t variables, now we send these data to blynk by using blynk.virtualwrite command. We send the h variable data to V0 as we have defined humidity in the V0 pin in the datastream tab. And similarly we define temperature to V1. So we send the t variable value to V1 pin.
Now below in the setup function, we begin the serial at 9600 baud rate. Here we begin the dht sensor by using the dht.begin command.
Now we begin the blynkEdgent.begin to authenticate the nutyfi with blynk cloud. we give the delay of 2000 ms here.
void setup()
{
Serial.begin(9600);
dht.begin();
BlynkEdgent.begin();
delay(2000);
timer.setInterval(1000L, sendSensor);
}
This timer.setInterval command is used here to call the sendSensor function, in which we define the h and t variable to send the data of dht11 sensor to blynk cloud every 1000 ms. Understand.
timer.setInterval(1000L, sendSensor);
And in the loop function, we call the BlynkEdgent.run function to call all the blynk functions defined inside the program when interrupts happen.
And finally, the timer.run function has been defined here.
void loop()
{
BlynkEdgent.run();
timer.run(); // Initiates SimpleTimer
}
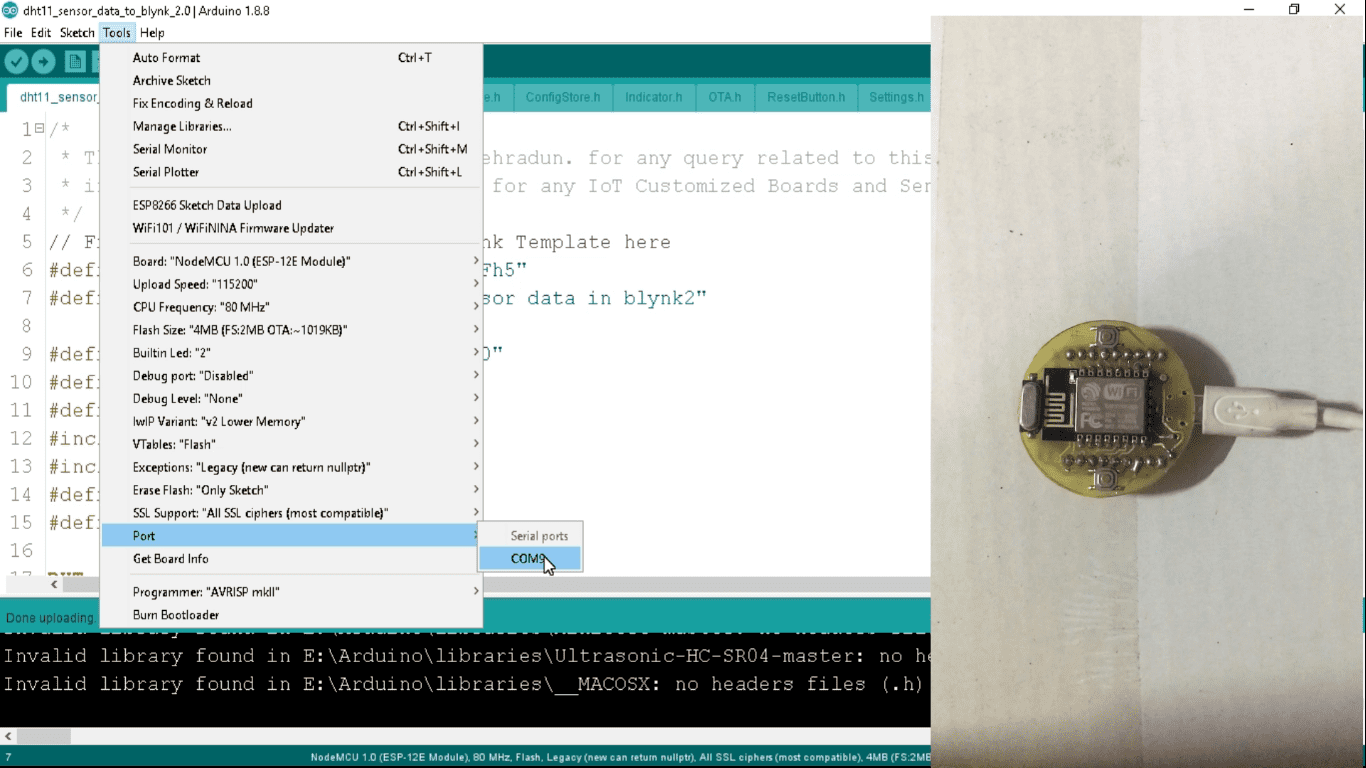
So this is the program. we need to select the wifi board. So go to the tools, go to the board and select NodeMCU 1.0(ESP-12E Module).
If you don’t have a wifi board installed in your arduino IDE, then this the link to show you, how you can install NuttyFi/ NodeMCU Wifi to the arduino IDE.
So time to upload the program to the Nuttyfi board. So connect the Nuttyfi to Computer’s usb port and select the Port as com9.


Hi ,
you explain very well and I had no trouble following your directions. However , when I compile the sketch it gives me a fault of “BlynkEdgent….No such filr or directory ”
Can you assist me please ?
Thank you ,
W.M.Bird.
hi, there must be required header file inside the Programming folder. or you can user alternate method to sned the dht sensor data to the blynk cloud. i have also uploaded the video on this. this link will help you- https://youtu.be/c5u6-Th1sI4