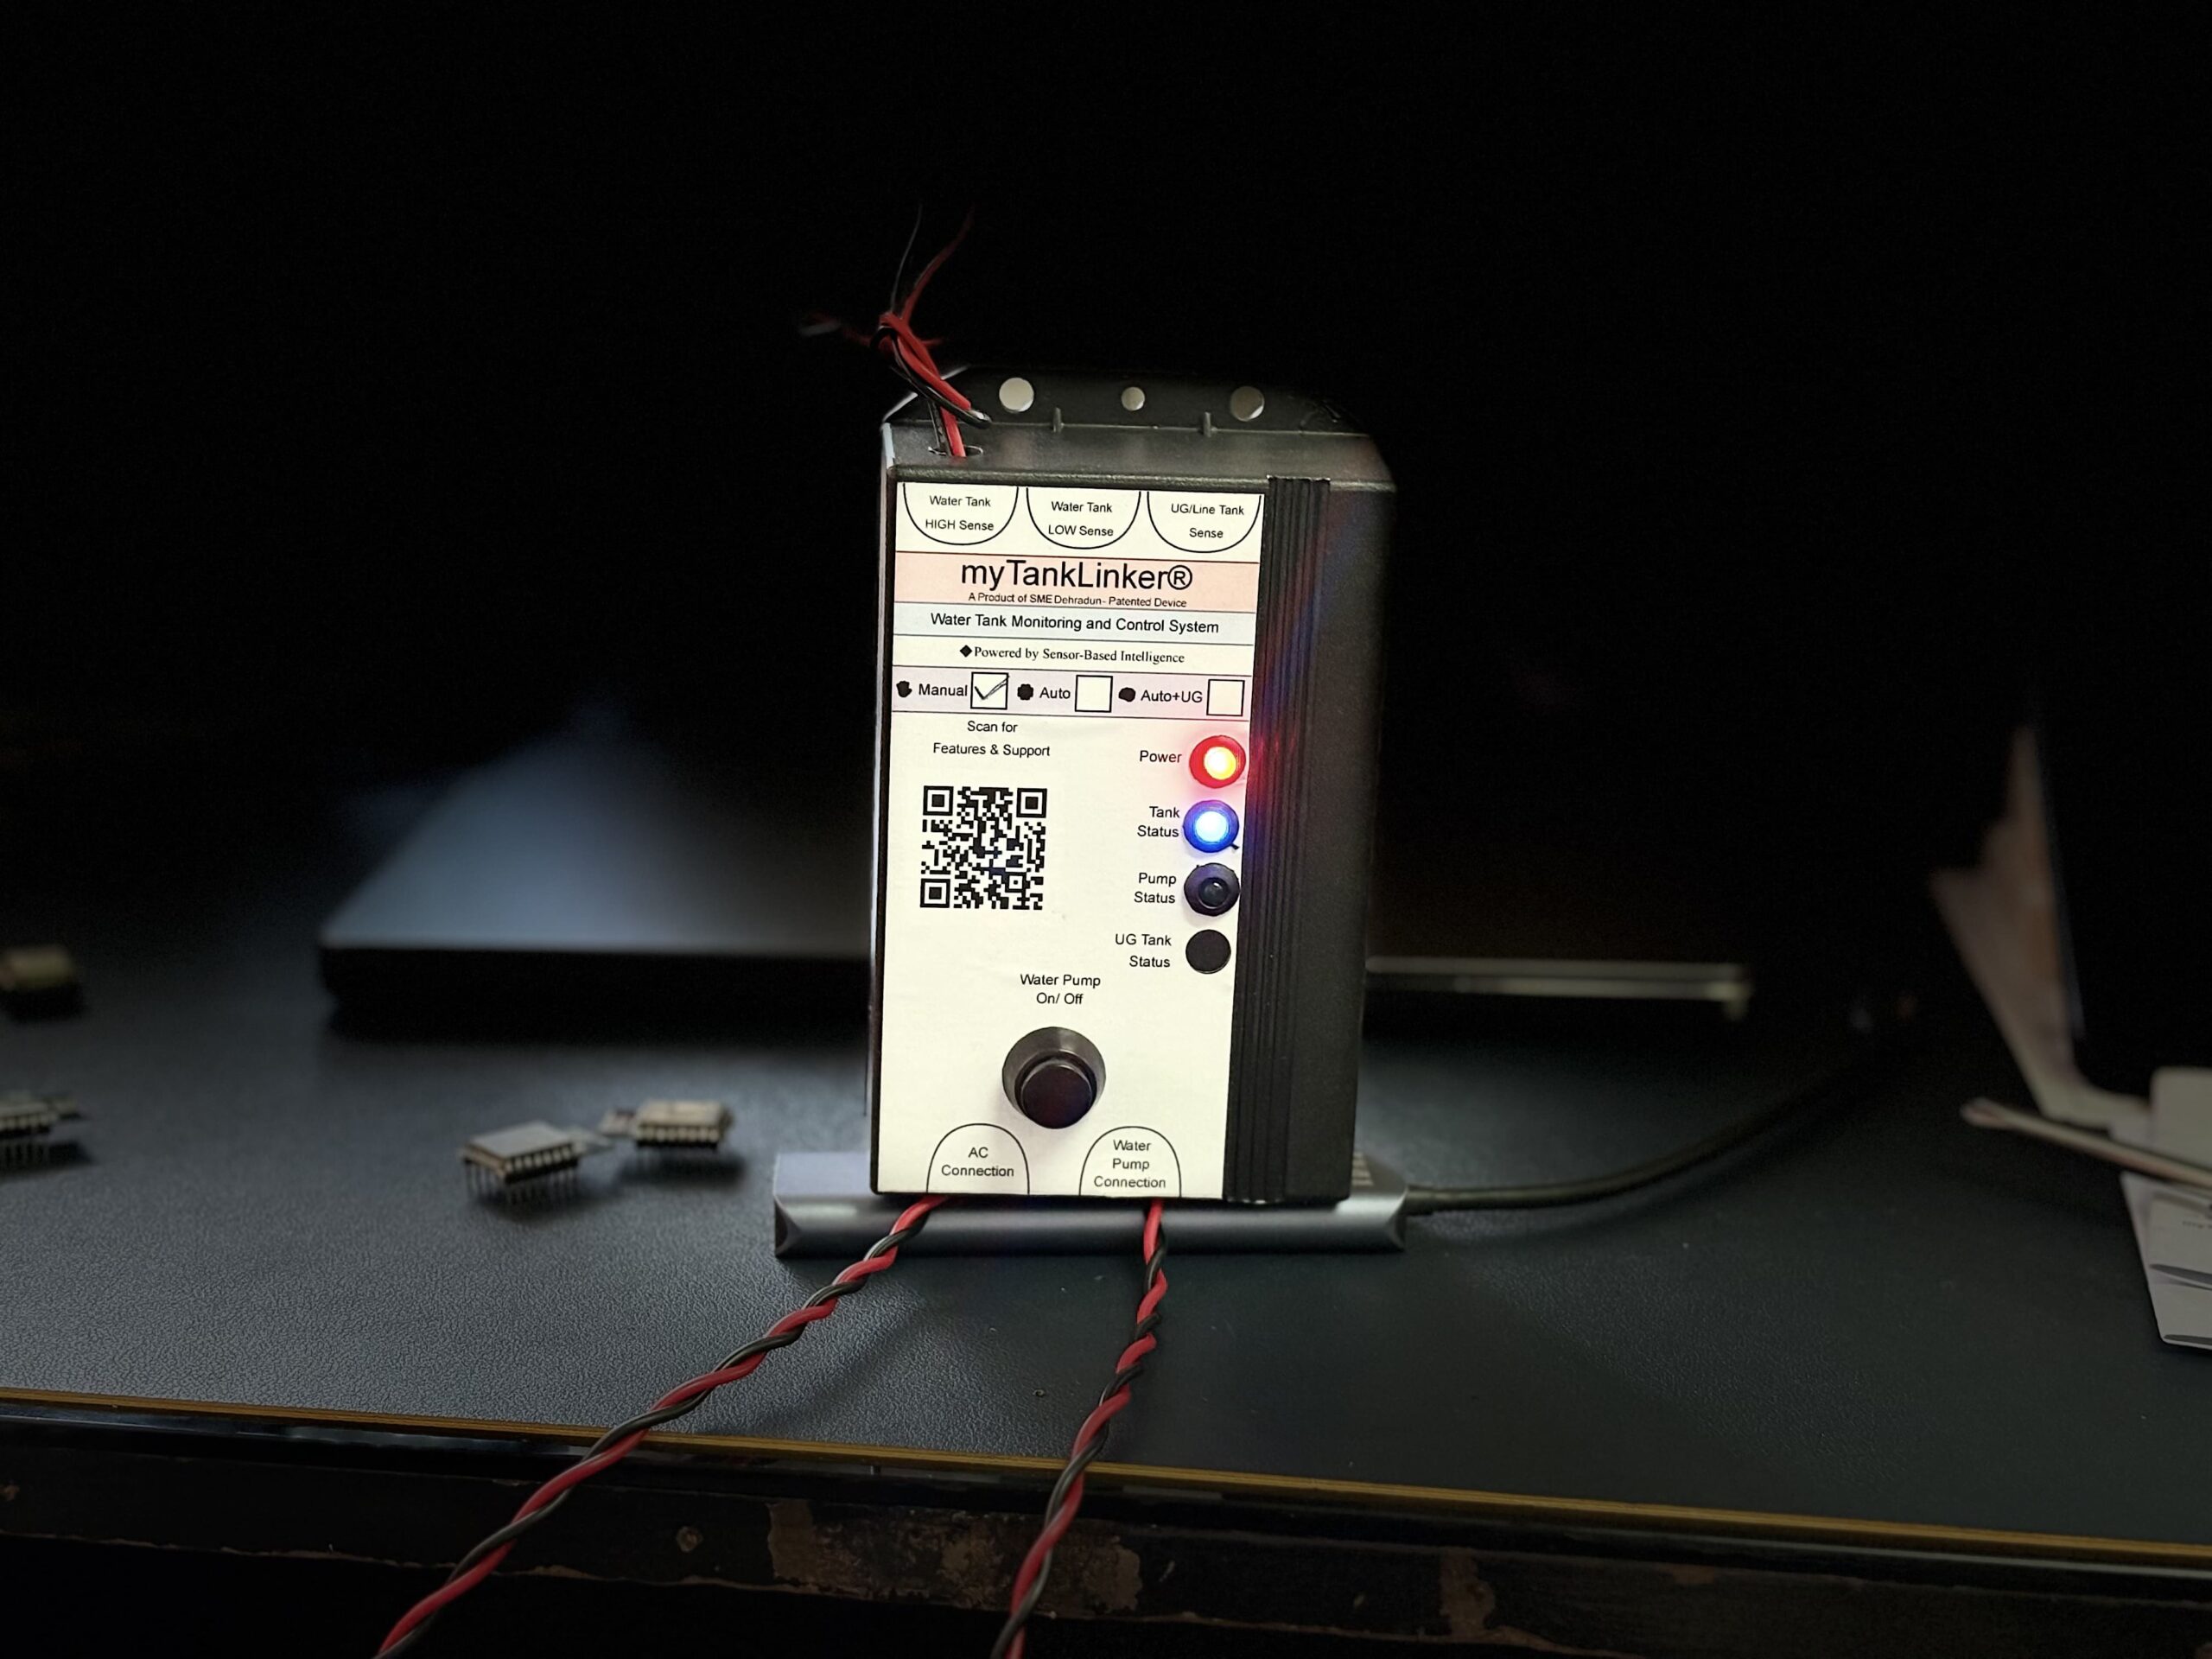
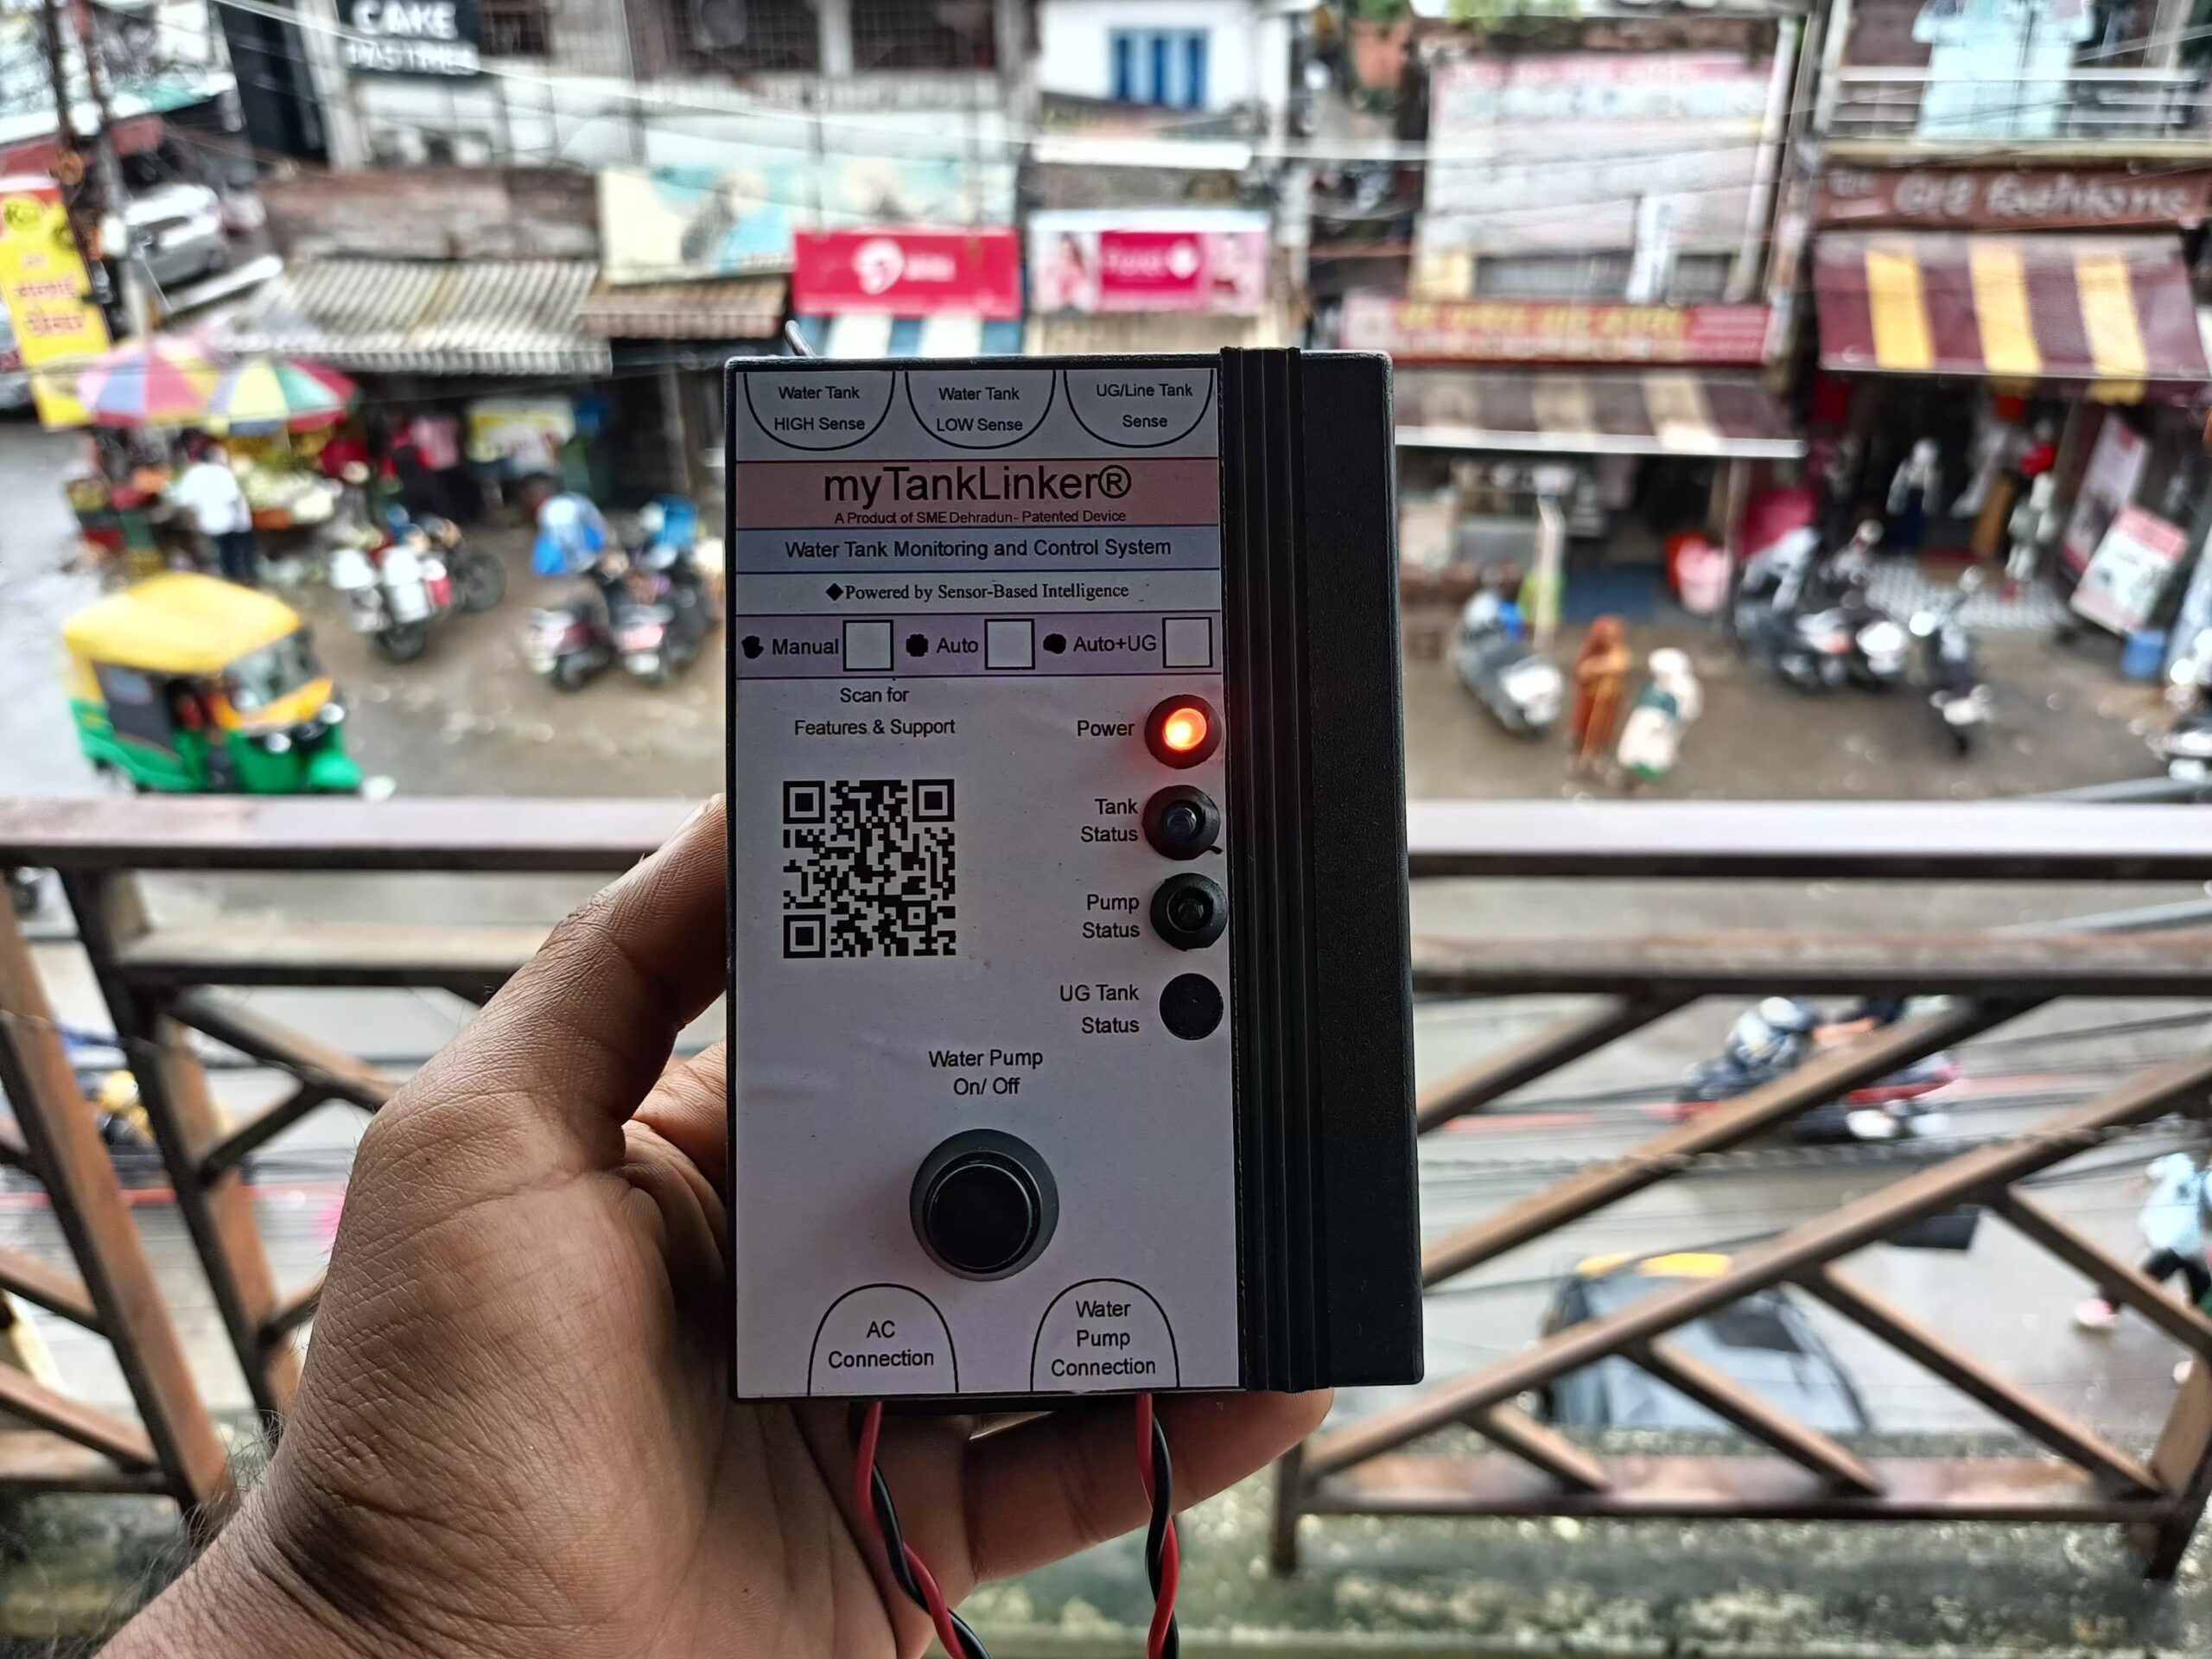
The myTankLinker Manual Edition is designed for users who prefer manual control of their water pump, with the added benefit of sensor-based tank level indication through LEDs.
💡 The device also offers a smart feature — it automatically turns OFF the water pump once the overhead tank is full.
This helps prevent overflow, water wastage, and pressure overload on the pump — giving you peace of mind and more efficient control.
This guide will walk you through the complete installation process, including wiring tips, LED behavior, and important safety precautions.
इस पोस्ट में आप जानेंगे:
- myTankLinker Manual Edition डिवाइस को कैसे इंस्टॉल करें
- Sensor wiring और pump connection कैसे करें
- LED Indicators का क्या मतलब है
- और आखिर में Safety Tips
👇 नीचे दिए गए स्टेप्स को ध्यान से पढ़ें और अपने डिवाइस को आसानी से इंस्टॉल करें।


📦 What’s in the Box?
- 1x myTankLinker Unit
- 1x User Manual
🔧 Tools You’ll Need
- Drill Machine
- Screwdriver
- Electric Tape
- AC Wire (for power) + Plug
- Copper Coated Wires (for tank sensors)
📋 Installation Steps:
📌 Step 1: Mount the Device (means मतलब डिवाइस को कहां लगाएं?।)
myTankLinker डिवाइस को पंप के पास, किसी indoor या weather-protected area में लगाएं।
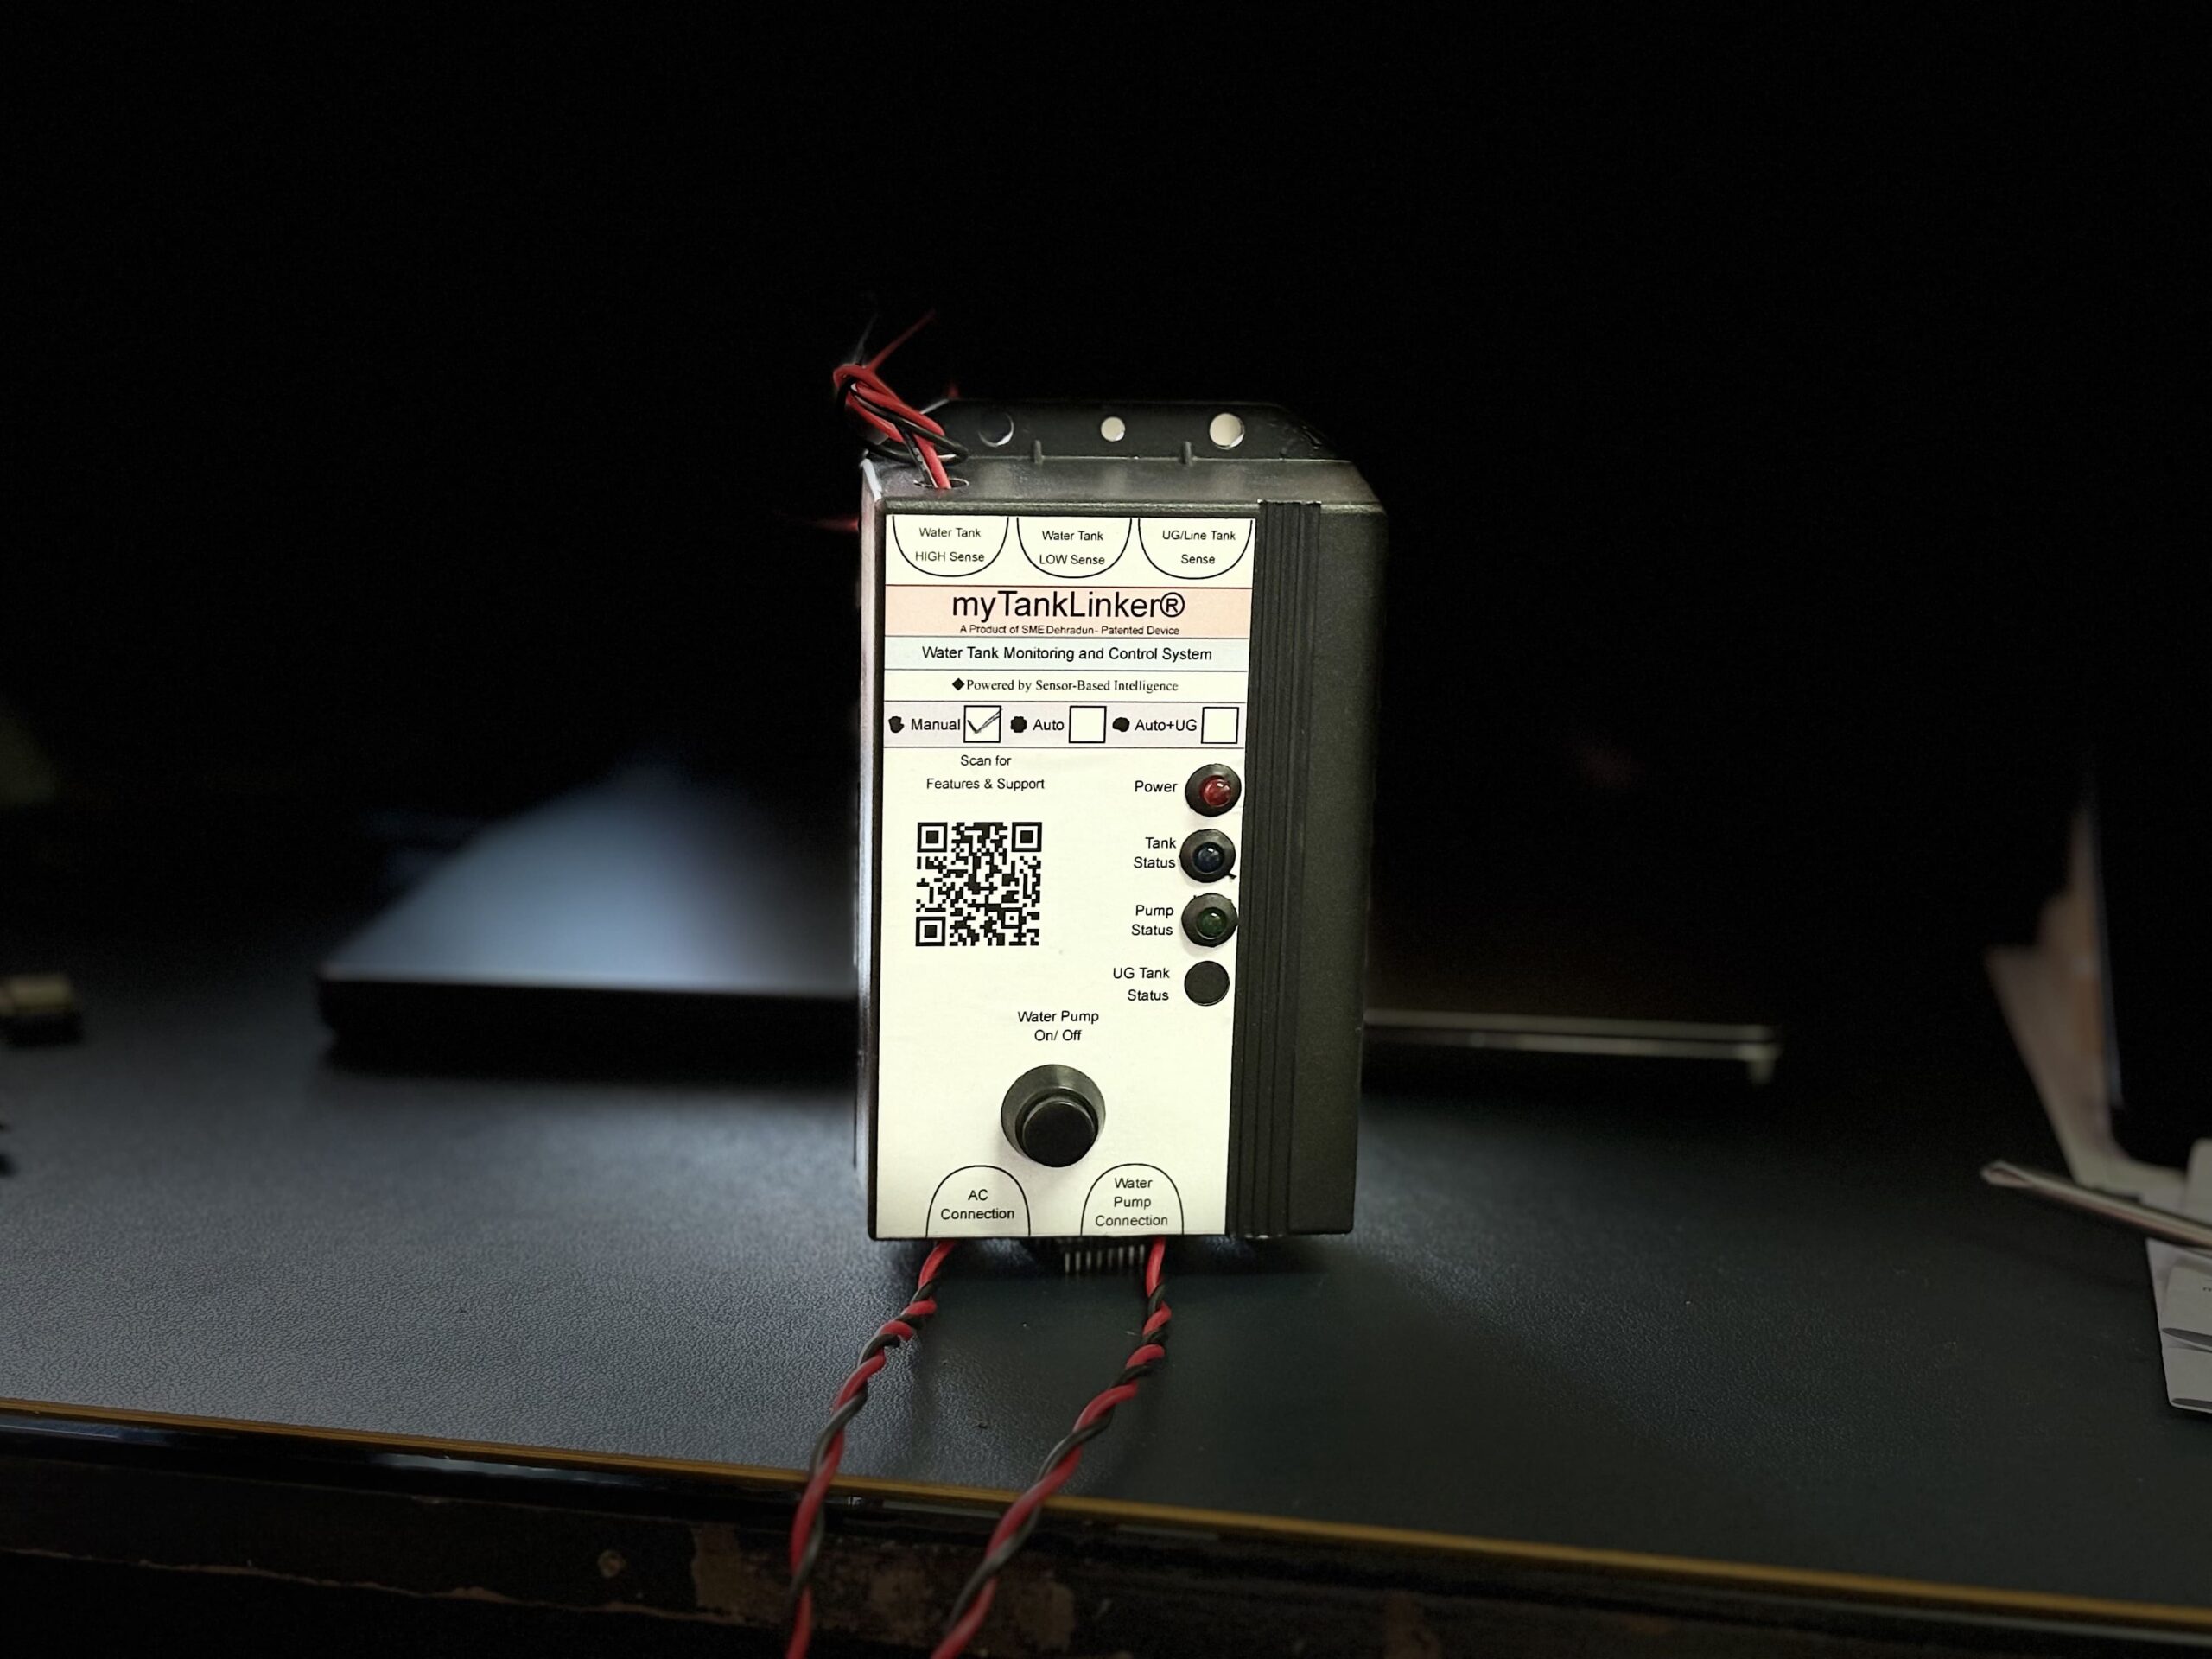
डिवाइस के टॉप और बॉटम में mounting holes हैं, जिनसे आप इसे दीवार पर screws की मदद से माउंट कर सकते हैं।
myTankLinker Manual Edition में भले ही 3 terminals दिए गए हैं:
Water Tank HIGH Sense
Water Tank LOW Sense
UG/Line Tank Sense
लेकिन इस Edition में सिर्फ HIGH Sense terminal का ही इस्तेमाल होता है।
1. Water Tank HIGH Sense
इस terminal से एक वायर लें और उसे टंकी के ऊपरी स्तर (High Level) तक डालें।
जैसे ही पानी इस level तक पहुंचेगा, Green LED Glow करेगी, जो यह दिखाती है कि टंकी फुल हो गई है।
👉 वायर को हल्का छीलें, terminal में connect करें और electric tape से अच्छे से cover करें।
⚠️ कोई भी open वायर exposed न छोड़ें और ध्यान दें कि वायर आपस में touch न करें।
🧠 Step 3: Water Pump कनेक्शन कैसे करें?
डिवाइस के नीचे दिए गए “Water Pump Connection” टर्मिनल में पंप की LIVE और NEUTRAL वायर को कनेक्ट करें।
इसे अच्छी तरह से इंसुलेटेड टेप से सुरक्षित करें।
Step 4: Power Supply कनेक्शन कैसे करें।
डिवाइस के नीचे “AC Connection” टर्मिनल दिया गया है।
इसे आप अपने AC socket या main line से कनेक्ट करें।
⚠️ कनेक्शन से पहले main switch OFF रखें।
💡 Step 5: LED Indicators को समझें, कैसे काम करता है।
🔴 Power LED (Red) – जब डिवाइस ON होता है, तो यह Glow होती है।
🟢 Tank Status LED (Green) – जब टंकी फुल होती है (HIGH Sensor पर पानी पहुंचता है), तो यह Glow होती है।
🔵 Pump Status LED (Blue) – जब आप Manual Switch से पंप ON करते हैं, तब यह Glow होती है।
🟡 UG Tank Status LED (Yellow) – ❌ यह LED Manual Edition में काम नहीं करती है।
🌟 Special Features – Why myTankLinker Auto + UG Edition is Smarter
✅ Sensor-Aware Logic – जैसे ही टंकी Full होती है, डिवाइस तुरंत Indicate करता है और Dry Run से बचाता है।
✅ Manual Pump Control – डिवाइस में दिया गया बटन आपको यह सुविधा देता है कि आप कभी भी पंप को मैन्युअली ON या OFF कर सकते हैं।
✅ Sensor-Based Tank Monitoring – यह डिवाइस advanced sensor का इस्तेमाल करता है, जिसमें ना तो float है, ना ही rust होने वाले resistor probes। सिर्फ एक वायर से टंकी की स्थिति का सटीक पता चलता है।
✅ LED Indicators – पावर ON, टंकी FULL, और पंप ON/OFF जैसे सभी स्टेटस को LED Indicators से तुरंत देखा जा सकता है।
✅ EEPROM Memory – अगर light चली जाए तो भी डिवाइस को पिछली पंप स्थिति याद रहती है। बिजली आने पर पंप उसी स्थिति में resume करता है।
✅ Reset Function – Long-Press से आप डिवाइस को Reset करके फिर से Default Mode पर ला सकते हैं
✅ Compact और Durable Design – डिवाइस का डिजाइन मजबूत है, और इसे indoor या weather-protected जगह पर आसानी से mount किया जा सकता है।
✅ Compatible with All Motors – यह डिवाइस 1.5HP तक के monoblock और submersible पंप के साथ काम करता है।
✅ Low Power Consumption – सिर्फ 5V logic control पर चलता है, और energy-efficient है।
✅ DIY Friendly Setup – Installation इतना आसान है कि electrician की भी ज़रूरत नहीं पड़ती।
🛡️ Warranty
6 Months Warranty
(Fire और Water damage शामिल नहीं)
📄 Installation Manual (PDF):
📢 Safety Instructions (जरूर पढ़ें):
⚠️ डिवाइस को गीले हाथों से न छुएं
⚠️ वायरिंग से पहले हमेशा पावर OFF करें
⚠️ डिवाइस को सीधी धूप से बचाकर लगाएं
⚠️ इंसुलेटेड चप्पल या शूज़ पहनकर काम करें